25 Feb Buy a Tripod, Part Two… DIY Tips for Still Photography
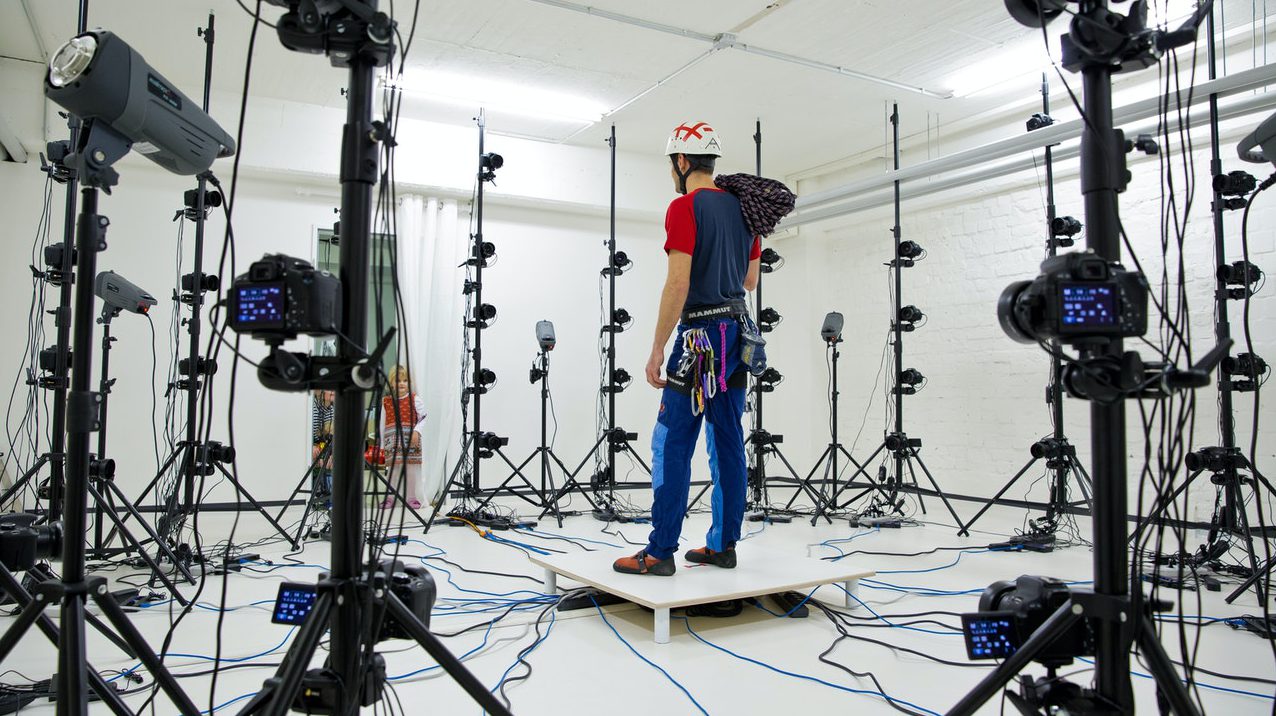
This image may be a little extreme but it illustrates a critical point in the journey we’re calling necessary-skills-I-never-knew-I-needed, which has come about as a result of the pandemic. If it sounds familiar, it should. We spoke about the same thing in recent weeks regarding video. Now, we’re applying some similar tips for still photography.
Taking still pictures is much more than fancy equipment, although outside of a camera we highly (highly!) recommend buying a tripod (see image above.) Let’s back up and talk about those new skills, namely gaining an eye for the shot – knowing what to shoot, when to shoot, how to frame the shot and, finally, enhancing your image at the editing stage. We’ve gathered a few tips to get you started shooting like a pro.
Tip #1 – Be realistic. Is this a job you can do?
Make no mistake, photography, just like video, is an art form. If you can, hire a pro. I’ve taken a few great pictures in my life as a marketer. Some have even been used in magazines and in trade show displays. But, I know my limits and recognize the sometimes fleeting opportunity of capturing an image. One benchmark I use is time pressure. If it is a one-time event, without opportunity to reshoot or rework, leave it to the pros.
Tip #2 – Buy a Tripod… has a familiar ring to it
If you’re shooting with an expensive digital single lens reflex camera (DSLR) or your phone, chances are your shot will improve by simply using a tripod. If the times dictate, build your skills with a DIY photo session in advance.
Speaking of phones… chances are your go-to equipment is your phone. This article from Time, has great tips from professional photographers to help you get started. One of my favorites is to start by cleaning your equipment! Nothing like a dirty lens to mess up a shot.
Tip #3 – The Rule of Thirds
Photo composition is where the “art form” of photography shines. Changing the way you approach a subject can make a world of difference. The rule of thirds breaks the frame into a grid of nine squares. Putting the subject at an intersection point of the grid helps create a more interesting photo. Experts say it helps draw you into a photo by putting more emphasis on the subject. Photographypro.com offers some great tips on this technique.
Tip #4 – Shoot a LOT!
In just about all aspects of life, options are good. It’s especially true with photography. Shooting, or even over shooting, your subject will give you more to work with. Try different angles, use different poses, capture movement and action, use props, shoot from the side of the subject. Just. Keep. Shooting. If it doesn’t work out, all you need to do is hit delete. But, more often than not, you’ll find some surprises.
Tip #5 – Seek the Light!
Golden Hour and Magic Hour rules apply to still photography as well. Check out our info on these favorable natural light situations on our blog post about video tips. Most phone shooting modes work best with good lighting, so take the time to learn more about lighting options. When you have the opportunity, don’t be afraid to move your subject around to see what works best.
Tip #6 – Edit Like a Pro
Editing software programs are available in just about every price range. Chances are you have one on our computer already. Simple tasks like cropping and straightening can make a so-so photo come to life. These “fixes”, however, shouldn’t detract from taking a good photo to begin with.
It helps to learn in advance all the enhancing techniques your program provides. Subtle light and color tweaks can make a big difference in the quality of your photos. Just be sure you’re limiting the use of filters. Some filters can add interest to a photo. But, they often end up detracting from the authenticity and true nature of the image.


No Comments